Grabbing the attention of visitors is really a daunting endeavor but now it is not difficult anymore. Because it is possible to reach out to visitors outside your website.
You may be surprised to know it. But yes, it is true. Now, you can engage with your visitors outside your website. Would you like to know -how?
Well, WordPress Push notification is an excellent tool that helps you interact directly with your users. They are far more straightforward than email.
Hence, if you learn how to set up WordPress push notifications, you will become successful in boosting your customer engagement.
In this blog, we will discuss how WordPress push notification is beneficial and how it is set up on your site.
Let’s dive into it.
Push notifications are short pop-up messages that alert users about events, announcements, or reminders. These notifications appear on users’ devices.
For a marketer, these notifications are a way to grab the attention of users. On the other hand, these notifications, for users, are a distraction.
Users do not need to open the entire app to read these notifications. Because these can be read out even on the mobile’s lock screen.
Also, Read: Why WordPress Elementor Themes are Getting More Popular in the Past Decade
Push notifications for WordPress websites are a very effective tool because of certain reasons:
Before we proceed further, it is important to know there are a number of free and paid WordPress push notifications plugins to select from. Each of the push notification plugins gives different browser and mobile support. So, choose one that suits your needs.
However, we will choose Wonderpush to guide you in setting up push notifications in WordPress.
Now take a look at how to set up Wonderpush Web Push Notifications on your Woocommerce WordPress Website.
Setup Time: Installation takes solely 10 minutes.
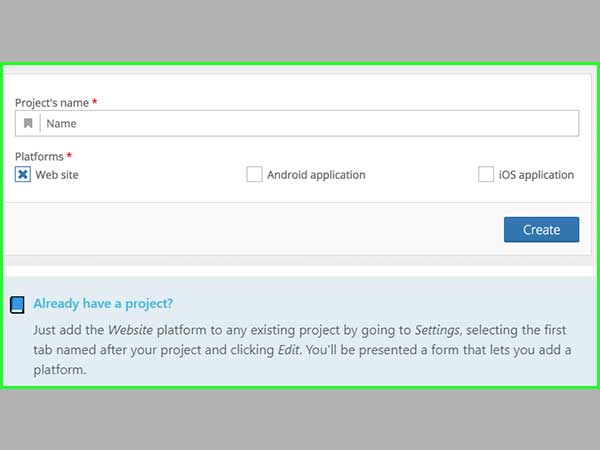
First Of all, Create your project.
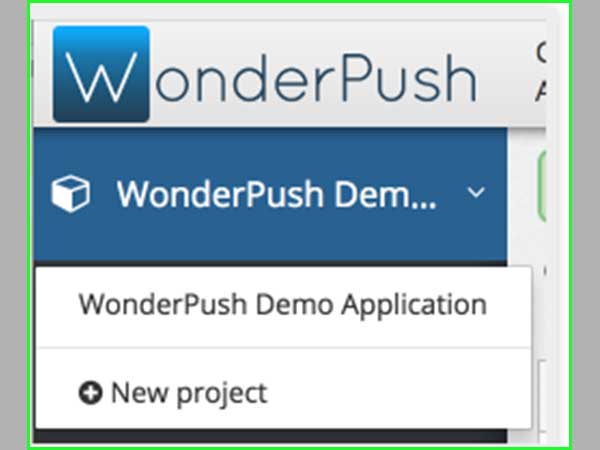
Click on a new project. Then, choose a name for your project. Select a Website as a Platform and click Create.
STEP 1: Enter the Website’s Information
Select WooCommerce as your setup type. And following this, fill in your site information

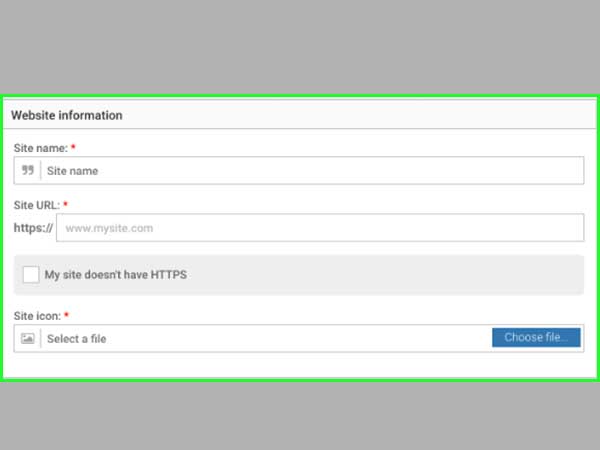
Website Information includes the subsequent fields:
HTTPS is needed for push notifications to work, and we, Wonderpush, provide you with a free of cost HTTPS enabled domain
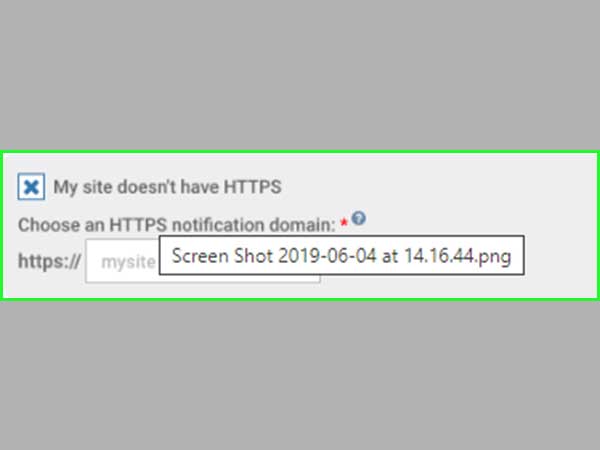
About the Push Notification Domain
Your push notification domain is shown in every notification you send.
When users subscribe to your push notifications, they permit your domain to send them to push notifications. And when changing the push notification domain, users have to subscribe again.
So, make sure you choose the right push notification domain from the start.
Using your own domain is recommended. However, if your site does not support HTTPS, use by.wonderpush.com.
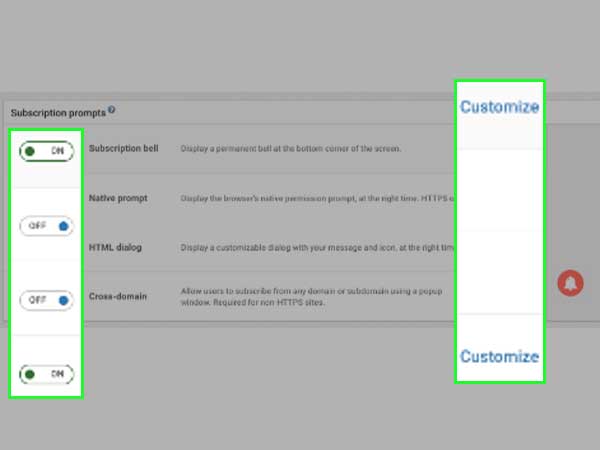
STEP 2: Arrange Subscription Prompts
Now, you need to configure subscription prompts for your site. Subscription prompts are ready-made user- interfaces. You can use it to tell users to subscribe to push notifications.
To start it, click the switch in front of its name so that it appears as ON. If you want to customize it, click Customize
STEP 3: Install WordPress Plugin
In your WordPress admin go to Plugins/Add new. And search for Wonderpush in the Plugins search engine.
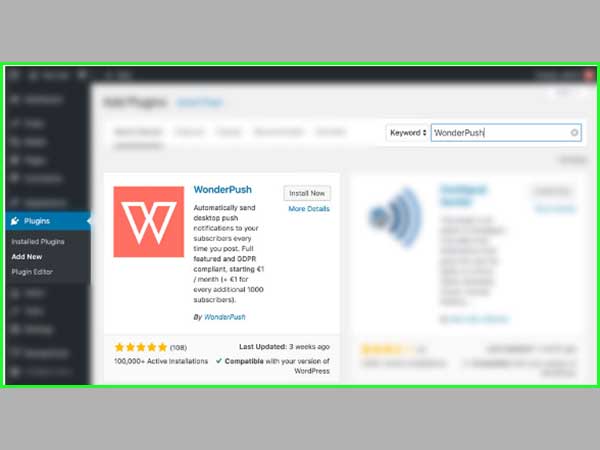
Choose Install to install the Wonderpush plugin. Then click Activate to turn on it.
Navigate your Access Token in the Wonderpush dashboard and copy-paste it into the Wonderpush WordPress plugin configuration page:

Get Ready To Receive Your First Push Notification
Go to the WordPress website. And refresh the page until you see the subscription dialogue. Then, press the Subscribe button.

Wait for a few minutes. After a few minutes, you get the default welcome notification.

WooCommerce push notification is an excellent tool to keep your subscribers up to date with the latest products and bring sales to your business. Plus, their message clarity makes push notifications more accessible.